
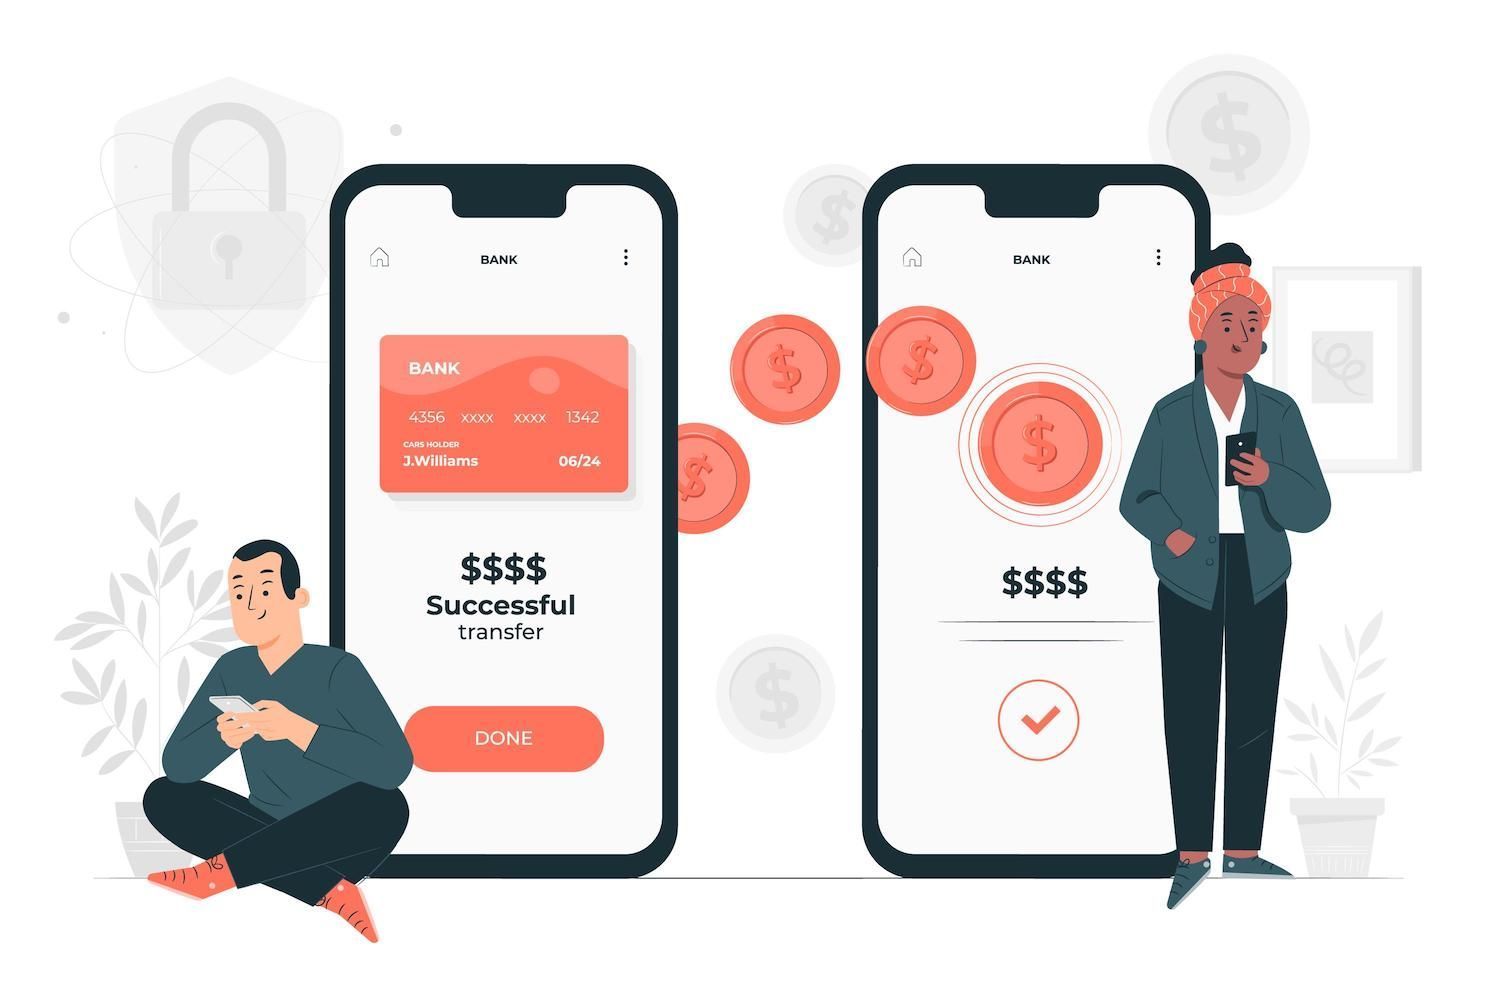
How should you evaluate your WordPress site for performance in terms of Functionality security, Functionality, and Security (r)

Send the news to
There are times when you'll have to perform certain jobs without impacting the present version of your site. This is the case for example, you may need to make sure that you're able to modify a theme in confidence or test new features in design. However, performing these actions within WordPress may impact your user Experience (UX) and even render your website impossible to use.
It's an excellent idea to try out your WordPress website with complete anonymity. For this, set up a staging site or even create a local one. It is then possible to conduct speed, functional and security tests prior to implementing any modifications to the live site.
This blog article will offer a thorough explanation of the importance to assess the performance of your WordPress site. In addition, we'll outline the steps to carry out three different types of tests. So, let's get going!
Why Is WordPress Testing So Important?
There are numerous benefits you'll reap when regularly checking your WordPress website. As we mentioned, it lets you play with style and User Interface (UI) elements without affecting your existing site.
When you're done the end, you'll be able to keep your existing site and carry on with your business and look for creative ways to boost your company's efficiency. If something does go off in the process of testing, you don't have to worry about the adverse impact downtime can have on the traffic to your website and on revenue.
Also, evaluating your system could prove to be an effective way to prevent security vulnerabilities. Maybe you'd like test different themes or plugins before putting your site online. In the meantime, you could test updates on your website to verify that the site is secure.
What are the most well-known types of testing?
When you've realized the benefits of be able to check WordPress as well as the various other WordPress websites, we'll examine some of the most common methods.
- Examining the functions. This lets you gain an insight into the user's experience the experience they have when using your site. For instance it is feasible to test whether buttons, forms and checkout pages function properly.
Whatever type of site you have, it's a good idea to establish routines for conducting regular functional tests and security test and performance.
The best practices to follow to test WordPress. WordPress WordPress Testing
It's crucial to comprehend the advantages of testing your website in different options. Once you know the difference among the various types of sites, it's much easy to pick the most suitable option to meet your specific needs.
The local site could be hosted on the computer. So, everything does there affect your site. It is great way to test with different capabilities and functions. Programmers, locally-based environments can be the best place for identifying errors and flaws within the code you write.
Staging environments, on the opposite hand, can keep your site's content on remote servers (rather like a personal computers). This is an ideal setting to allow you to make major changes to your site's configuration, version changes or the migration of databases. Additionally, if you create websites for clients, the staging website is an excellent demo site to show to clients how the website could look.
How to Configure the Testing Environments
If you have a better understanding of different types of testing environment we can look into how you can make them work!
How do you set-up a testing Environment with the Staging Site
A staging website is basically an exact replica of your site. The site is typically within the same server the primary website. It's the only difference being the fact that visitors won't be able to connect to the site.
One of the best aspects of stage is the fact that it's a real-world setting. This means that you can observe the path visitors take to your site.
You can login to your staging site by accessing the My Dashboard. Select your site from the dropdown. To the right edge of the screen, select from the dropdown menu to Liveto stage:

Remember that it could be more than 15 minutes for you to build your staging website the first time. Then, it will exist as a subdomain to the main domain (both are hosted by the same web server).
If you're looking to change your website, all you have to do is click the "Push Environment"button on your dashboard.
How To Set Up Your Test Environment Locally
Local environments function as a stage website, but, it doesn't need you to host your site within another. Local data for your environment is stored in a personal computer (most likely, it's your PC).
For installing a WordPress testing environment locally first You'll need an AMP stack on your computer. This software (Apache, MySQL, and PHP) is able to duplicate your current WordPress site.

Dev is a local-developed development tool, which is compatible together with WordPress Single and Multisite. There's a wide range of management tools for email databases and databases. tools. Furthermore, it's fully integrated with My (although you don't have to join My to access Dev).
Once you've completed the installation procedure of Dev and Docker, you have the ability to build your own local web site. You can build a new WordPress website, or transfer an existing site from an existing website and create a customized website.

Choose the one you like. If you're migrating from an importer, it's important to choose the correct site for the import, after which you'll need to enter your login details. After that, you'll be taken to the page with the information about your site screen. This is a sort of screen for the local area.
What is the best way to test the functionality on your WordPress website (5 Features)
We'll look at five ways to test the functionality for Your WordPress website. One advantage of test features is the fact that they can be done it at the convenience at home, or using Dev (unlike the other forms of testing that require your website to be on the internet).
Help with Cross-Browser
An individual, for example that visits your site using Chrome might view your site differently than someone who visits your site using Firefox. And while 3.2 billion people using the internet preferred Chrome as their principal internet browser in 2021, the majority are still making use of Firefox, Edge, Opera as well as Safari.
It's possible to determine what websites are viewed as well-liked by the people who you're trying to attract. You can then design your site compatible with these browsers. If you are using Google Analytics or Google Analytics then you'll be able to have access to these data within your analysis of your website's audience.
Then, you can test your site's compatibility with cross-browser browsing with a program like the BrowserStack:

The BrowserStack application is in a position to check your website with three thousand different browsers. This includes the most recent versions including Edge, Safari, Firefox and Chrome. It is also possible to try having a trial for free prior to enrolling in the monthly subscription plan.
Unit Testing
Testing for unit is the method of testing the smallest component of an application, separated. It may be a property, function or process. They are then examined to make sure that they function properly and verify that the application behaves as intended to.
You can run unit tests by using an external tool such as Travis CI. However, it's more efficient to conduct tests locally during the development phase instead of implementing changes and simply waiting for Travis CI to execute them.
As an example, you may need to test a unit of the theme or the plugin. For this you'll have to set up Git, SVN, PHP together with Apache. It is also vital to have the plugin installed.
Beginning by beginning by opening Dev to start your local environment for development. Install PHPUnit. Once you've done that, you'll be required to make the test files following the following procedure:
bashwp scaffold plugin-tests my-pluginAfter you've completed the process, you are able to set up your test environment locally by installing the script
bash bash bin/install-wp-tests.sh wordpress_test root '' localhost latestThis script makes an image of WordPress within the directory in /tmp as well as inside the WordPress program for unit testing.
After that, you must test the plugin using the PHPunit. To learn more about the procedure, read this tutorial on test unit.
Mobile/Desktop Receptivity
Over 60 percent of people are using mobile devices for internet browsing and surf the web so it's essential to ensure that your WordPress site can be completely adjusted. Therefore, it is essential to ensure that your site's pages are easily accessible on any screen size such as desktops, tablets, and mobile.
Simply go to the Appearanceand then Change:

In accordance with your theme there will be different sections. However, at the bottom of your page, you'll find an icon which can be accessed via mobile and tablet devices to display your site in the resolution you prefer.
Then, you can click the link, then choose to look at:

Look for the bar that controls the toggle device in the upper right corner on the screen (to the left of the componenttab):

Hit it and the screen will change:

As you'll notice you can now test how your site looks in responsive dimensions. When you select the dimensions drop-down menu, then you'll be able test your website using different devices that include various iPhone or Samsung Galaxy models.
Tests to test for tests for the User Interface (UI) Testing
If we're talking about your website's User Interface (UI), you're talking about any element of your site that visitors can communicate with. A majority of websites include menus, buttons, links and more. In the near future, people will have interact with these components.
It's therefore vital that the interface of your site is tested. If the interface isn't working, customers may be dissatisfied and abandon your website.
It is possible to make a local system to test the component of the user interface. It is possible, in particular, to develop an entirely brand new navigation menu and then test it using.
If you're currently in this situation, you'll be able to access to the local administrator area through Your Dev dashboard. Go to the tab for Appearanceand after that, Menuson the local site. Once you have that, choose the menu you wish to make..
Name the menu and click on Save menu. After that, you can add menu items to the left, and select Add to Menu:

Under the menu Settings Pick the menu option that is the primary menu. Save your preferences.
Select the Manage with Live Previewat the top of the page to determine the shape of your menu to look:

Go to your local site with another browser. You will then be able to see the new menu on the top of your screen:

Also, you can try your navigation hyperlinks by clicking every menu item. As an example, if we click on our Wholesale orderlink is redirected to the page we needed which we've put in our menu.
In this way it is possible to test various features of your design, and also make sure that the UI functions correctly.
Visual Testing
Visual Regression Testing (VRT) guarantees that the layouts and design elements look exactly as they should. This is why VRT usually occurs following the modifications to your site such as changing the theme or upgrade the functionality of an application.
So, you'll be able to ensure that any changes aren't negatively impacting your visual elements. As an example, your text could be out of alignment your buttons could be removed.
Similar to UI tests, users will generally miss these kinds of issues unless you visit your site's front-end. You can find automated VRT equipment that continuously scan your website and look for visual abnormalities.
The theme we're employing is the Twenty Twenty theme activated on the website of our local affiliate. It is evident that the homepage displays pictures, buttons and text that are generally aligned.

In the Twenty Twenty-Three theme, you are able to see that the Shop Now button to shop nowbutton isn't aligned properly:

If you set up the environment to be local to the tests, you'll have the ability to detect imperfections in the visuals such as this.
Examine the efficiency of your WordPress website's performance. (6 Tips)
Another method of evaluating the effectiveness of the performance of your WordPress site is to check the speed at which you're running your website. In this article, we'll look at the six methods that can help you test the performance of your website.

It's even better, APM is free with any plan, and you'll have access to the program right from the My Account section of your account. At the end of your day, this is a simple instrument that can help improve the performance of your site and load time.
Long Queries, Scripts, or the slow queues
At the start, it's essential to check that your website is functioning in its full capacity. It is possible to check WordPress to see if it's slow due to scripts or queries. A poorly designed query or script could have an effect on the speed of your website overall and make your website slower to load.
One of the most effective ways to detect the slowness of scripts and queries is to turn off APM. If you're an APM user, APM can gain access to the program for free. However, you'll need to add it to the My dashboard.
For this, log into your account, then select the website on which you wish to avail of the APM. APM tool. After that, visit the APMtab and select the option to turn on:

Next, you must choose the duration that you'd prefer to make use of the tool. Since the APM tool uses server resources, it can affect the speed of your website. Therefore, it is recommended to use the tool for only brief periods of time while you're working on the problem.
Pick the one you like best and click to enable monitoring.:

It may take several seconds for the application to collect data on your site. Then, you can move to your Databasetab and locate the the inefficient Database Questionssection:

Below are the top 10 database queries that load the slowest for your site. When you click a query, you can review the transaction example:

You'll also get to know more about the timeline of trace information, track timeline for span information, span and trace stack.
The slow plugins
Although poorly-designed plugins may be a threat to the WordPress site's security, they can also be a hindrance to efficiency. Therefore, it is crucial to identify this problem early enough.
Another option is to make use of the APM tool, which is able to identify slow-running plugins. After activating this tool within Your My dashboard, navigate to the APMtab. APMtab. Once you have that, it is possible to move to WordPress:

The first thing you'll come upon is the slowest WordPress plugins. These plugins that load at the fastest speed appear at the top of the section.
Learn more about issues with performance To find out more about issues with performance, select any plugin on this list. The plugin will display the sample transactions that this plugin executed. You will also be able to examine the timing stamp and trace timeline. the trace timelines, span information as well as other.
Slow Pages
It's important to also check WordPress in the event that pages are slow since this may cause bad UX. Furthermore, page speed is a major ranking factor in websites such as Google.
Once you've turned on APM it takes some time to download the performance indicators. You can then go through the tab for transactions.tab:

It is possible to look at some of the information regarding your site's processing time. You'll also be able to look at the slowest transactionsto review the PHP processes that need the most time for processing:

If you opt for a transaction, it is possible to determine which URL is responsible for the transaction. When you've gathered that data follow this link to see the time-line of the transaction:

So it is possible to determine the span with longest duration. If the spans you're trying to find are considered important for your achievement, they'll usually be highlighted in red or orange.
Caching
Caching offers a speedy and simple method of increasing the speed with which your site is loaded. It's a process that saves duplicates of the website's content in a server. So, every time someone visits your site, it will show an updated version your page which allows information to be transferred more rapidly.
On the My Dashboard, click on WordPress Websitesand select the WordPress site that you would prefer to visit. Next, you must click Toolsand in the section Site cache, choose to enable:

Put your URL in the URLbox in Pingdom before selecting an appropriate location. Now, under Response Headers, locate x--cache. If it appears that the cache reads MISS and your website is not loading, it means that the cache does not load in the cache.
To resolve this issue, you need to test your website using the Pingdom test again a couple of times. The result should be the x-cacheand the x-cacheheaders to sign up as http. After that, you review the results, making note of the large yellow bar that indicates the duration of the wait or time to first Byte (TTFB).
It's usually excessive when a site isn't cached. Try running tests with cache off as well as using cache in order to distinguish between the two.
Content Delivery Network (CDN)
When creating a new website, it is recommended to ensure that you ensure that the CDN is enabled as a default. Check if you can verify that the CDN is working through your My Dashboard.
Visit WordPress Sitesand select the website's name. Then, select your CDNtab and select on enable. If you notice Disable this means you have a CDN running. CDN is running:

For testing the performance of the CDN the best way to check its performance is to use a web speed test tool. When you first start out it's best to check the HTTP headers for static resources to ensure it's being loaded by CDN.

It is possible to conduct your initial test after having disabled the CDN. It is then possible to test your website with the CDN disabling to check for any changes. Also, you should check your CDN across different sites.
Load Test
Load testing, however, gives a higher level of precision through tests of speed. It is often used to measure speed of loading for particular scenarios, like those when your website is challenged due to the increased number of users.
How to Test the Security of Your WordPress Site
Another reason to test WordPress is to ensure that the software you use for your site is secure. Even though this concerns the WordPress main software that runs the platform, it includes the safety of plugins as well as themes.
Testing plugins and themes is crucial as they're often not made by a trusted source. If you download themes or plugins on websites that are not owned by third parties it is impossible to verify that your program is able to pass all security checks.
Core Security
Although WordPress is an extremely secure platform, it's also vulnerable from cyber-attacks. Therefore, it's important to review the security of the WordPress software.
Each time a brand new WordPress update is released You can ensure the upgrade you download is secure by testing the upgrade using a test site or in your area.
It's easy to set up. All you have do is visit WordPress Websitesand choose the site you wish to update from the available options. Make sure that the site's settings are set to the appropriate stagewhen the time comes to upgrade.
If you're sure that the most recent WordPress version is secure, go back to the screen, and then select the"Push into LIVE"option "Push into LIVE"to apply the change:

Choose your option (choosing either from a database or a file) and confirm your selection when you click "Push to live".
Theme Security
If you discover the latest theme you'd like to use, the best way to accomplish this is to enable the theme using a developing environment locally, or in your staging website. It's the same in any occasion that a theme installed that you have installed on your website releases an update.
A majority of themes update include security updates. issues. You could also hit an update that is not correct, which can cause problems with other software that you use on your website.
If, however, the theme is one which you've not previously attempted (and you're unfamiliar with the designers) installation on a local environment will be a better option. This means that regardless of the fact that the theme does not work with your website and does not work, your website that is running will not be affected.
So, if you're a buyer, then you could set up a staging web site. If the site you're creating doesn't use a hosting platform Dev it is possible to begin by using Dev in which you can build local development platforms.
If you've started Dev on your personal computer visit the site informationpage. Select WP Admin:

Install and then enable the theme as you typically use WordPress. It is recommended to install the theme for more than one week prior to installing the theme to your website (same applies to running a new theme update).
But, if you're trying figure out the level of security offered by a theme that you've installed on your site the most effective way to do this is by employing the security scanner. WPScan is a great solution to find any vulnerabilities in the security of the WordPress themes.
Plugin Security
They could attack your website's security. This is the reason you need to conduct regular checkups on the security of your plugins.
This topic was previously discussed You can download an entirely new plugin (or alter the existing plugin) on a local site or on a staging site. If anything goes wrong in your live website, it won't be in any way.
However, like in themes, it can be advantageous to set up a vulnerability scanner similar to WPScan. It is available for absolutely free. All you need to do is sign up for an account. Then, you'll able to connect to the API token to your WordPress site.
After the scanner has connected to your site then you can go into your WPScan> settingswhere you are able to configure schedules for daily or hourly scans.

You can also click the Reporttab to test by hand. Once the test is completed go to the next Section: plug-inssection:

Below, you'll find an extensive listing of the plugins you have in your website. If your plugins are secured, there'll be a checkmarks on each of the names for every plugin. If they're not, there'll be specific information listed in the vulnerabilitycolumn.
Security and Speed are Best When You Pick the Top Hosting
There are many ways to improve the efficiency of your site. You should take all the necessary security measures to run an effective website. In the end the best approach to ensure your site is safe and reliable is to choose an experienced web hosting service.
Most important to us is speed and security:

Our plans powered by top of the line processors that offer global connectivity. Furthermore, you'll gain accessibility to Cloudflare powered CDN which has servers in over 275 different locations.
Summary
If you do not test your WordPress site, you might not know how your visitors interact with your site. As an example, visitors with certain browsers could experience difficulties when using your menu. Furthermore, mobile users might encounter lengthy waiting time. This is why it's vital to ensure that you've tested your WordPress website.
The post first appeared on this site
Article was first seen on here